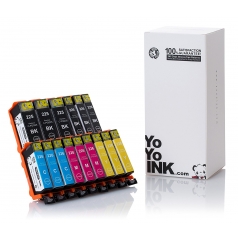
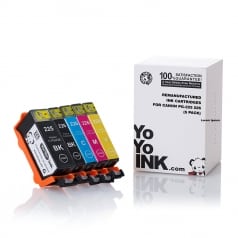
Canon PGI-225 & CLI-226 Ink Cartridge, Compatible High Yield – 15-Pack (3 Black, 3 Pigment Black, 3 Cyan, 3 Magenta, 3 Yellow)
Black: 340, Color: 510
225, 226, CLI-226BK, CLI-226C, CLI-226M, CLI-226Y, PGI-225BK
Avg. Price Per Cartridge: $2.86 each
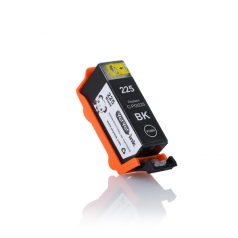
Canon PGI-225 Black Compatible Printer Ink Cartridge
Black: 340
225, PGI-225BK
Avg. Price Per Cartridge: $8.49 each
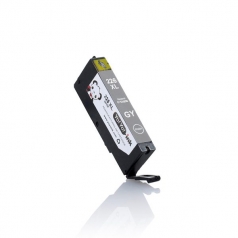
Canon CLI-226 Grey Compatible Printer Ink Cartridge
Color: 510
226, CLI-226GY
Avg. Price Per Cartridge: $9.91 each
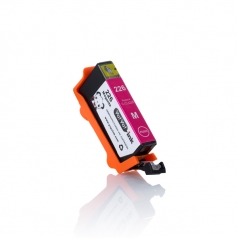
Canon CLI-226 Magenta Compatible Printer Ink Cartridge
Color: 510
226, CLI-226M
Avg. Price Per Cartridge: $9.91 each
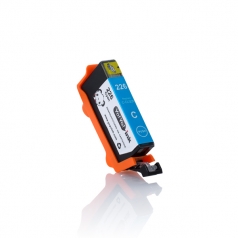
Canon CLI-226 Cyan Compatible Printer Ink Cartridge
Color: 510
226, CLI-226C
Avg. Price Per Cartridge: $9.91 each
Canon PGI-225XL & CLI-226XL Ink Cartridge, Compatible High Yield – 5-Pack (1 Black, 1 Small Black, 1 Cyan, 1 Magenta, 1 Yellow)
Black: 340, Color: 510
225, 226, CLI-226C, CLI-226M, CLI-226Y, PGI-225BK
Avg. Price Per Cartridge: $5.43 each
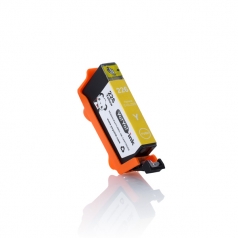
Canon CLI-226 Yellow Compatible Printer Ink Cartridge
Color: 510
226, CLI-226Y
Avg. Price Per Cartridge: $9.91 each
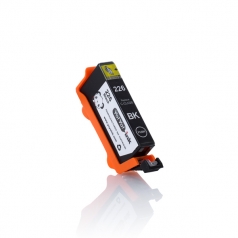
Canon CLI-226 Black Compatible Printer Ink Cartridge
Color: 510
226, CLI-226BK
Avg. Price Per Cartridge: $9.91 each
How to Change your Canon Pixma iP4850 Ink Cartridges Refill
- Make sure your Canon Pixma iP4850 printer is turned on, then gently open the paper output tray by pressing the release button.
- Open the machine’s paper output cover by lifting it up then wait as the cartridge holder transfers to the replacement position.
- Push the empty cartridge’s tab until you hear the electronic sound then pull it out of the cartridge holder.
- Take the new Canon Pixma iP4850 cartridge from its package and peel off the protective tape.
- Prepare the new iP4850 ink cartridge and unpack it, then hold the device by its plastic body and get rid of the sealing tape film completely. Also, twist and remove the cartridge's protective cap.
- At a slanting position, insert the new ink tank into the appropriate slot, then push it down until it snaps securely into place.
- Close the printer’s top cover to finish the installation.


 Live Chat


