Free 2nd Day Shipping on orders above $50.
Free 2nd Day Shipping on orders above $50.
Epson printers are known for their reliability when it comes to creating professional documents and high-quality photos. But as reliable as they are, they still give users a bit of a headache from time to time. One of the most common problems that you may encounter with your printer is when it suddenly stops printing after replacing one or all of its empty Epson ink cartridges.
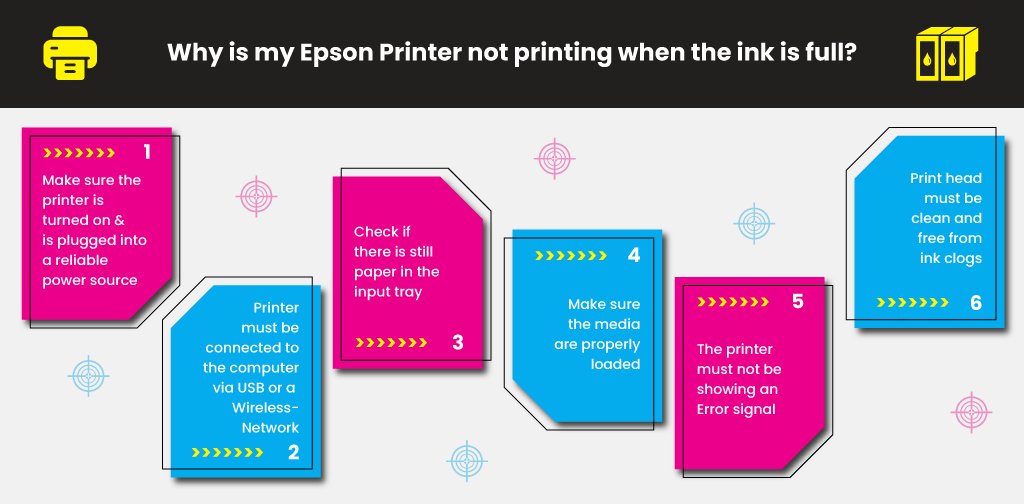
There are many reasons why an Epson printer doesn’t print after changing its ink or even though its ink is full. Generally speaking, it’s because the Epson printer doesn’t recognize your ink cartridge or still think it’s empty. Let’s take a look at some of the most common causes of this problem and the solutions to each one of them.
With this particular Epson printer problem, the fault may lie with the printer or from its ink cartridges. When it’s the former, it can be dealt with via simple checks.

If you have completed the above steps and the issue still lingers, then it may be because there is a problem with your ink cartridges.

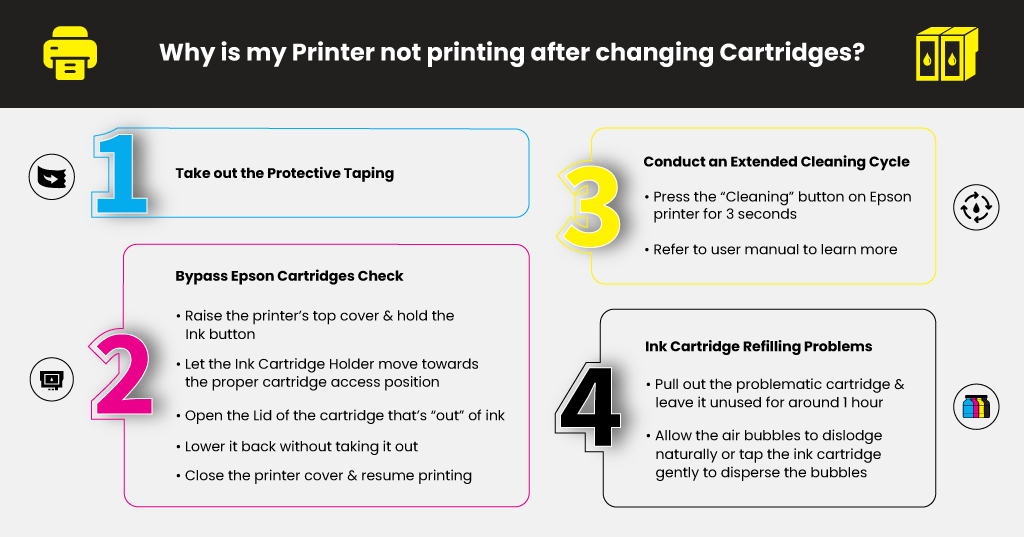
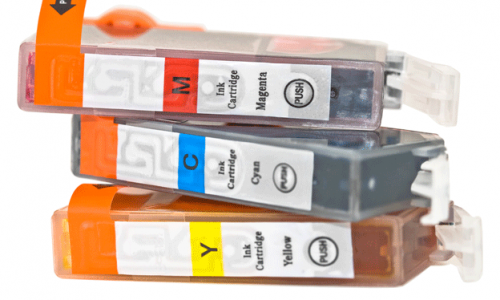
The majority of ink cartridge products come with a tiny band of protective taping that seals the print nozzle. Its main purpose is to block the nozzle, stopping ink from leaking out when the cartridge is stored or shipped. If you forget to take out the protective taping when installing the ink cartridge, the ink won’t come out from the cartridge’s nozzles. Make sure to remove this protective tape once you load a new ink cartridge in your printer to ensure smooth printing.

Your Epson printer may have failed to recognize the new ink cartridge, or its ink level system has read it as empty. For numerous Epson printer models, there’s a way to bypass this built-in ink checking system through a quick cartridge reset.
The ink cartridge reset process may differ slightly between Epson printer models. Refer to your printer’s user manual if you want to know the reset process of your printer.
Learn More
If you have stored an ink cartridge for a certain period, the ink inside its tank may have started to dry up. Conduct an extended cleaning cycle to help resolve the problem and allow the printer to recognize the ink cartridge.
Look for something that resembles a “Cleaning” button in your Epson printer and long-press it for 3 seconds. Consult the product’s user manual to learn more about conducting an extended cleaning cycle on the device. Once you have completed the cleaning cycle, try to do a test print to determine whether printing is back to normal.

Opting to refill your ink cartridges instead of purchasing new replacements is a good way to save money and the environment. Refilling ink cartridges, though, has its fair share of challenges. If not done properly, it will result in potential problems in printing.
It would help if you made sure that the refilled ink reaches towards the bottom of the tank. To resolve this problem, remove the faulty ink cartridge and inject additional ink into the sponge via the exit hole.
Ink flow can also get disrupted or blocked due to air bubbles that form inside the reservoir. Pull out the problematic cartridge and leave it unused for around 60 minutes, allowing the air bubbles to dislodge naturally. You can also try tapping the ink cartridge gently to disperse the bubbles.
You may encounter other printing problems with your Epson printer soon. If you do, try contacting Epson’s customer support for some help or refer to the product user manual for troubleshooting tips. Try checking out our blog to learn more about common Epson printer problems and how to resolve them like fixing an Epson printer error code 0x97 and more.
Learn More
Rebecca
I purchased an Epson ET 2760 for sublimation. However, I put the ink that came with the printer and had to replace the ink. Now, the printer will not print. Am I supposed to do now? Did I mishandle the ink somehow? please help
Julia Page
Hello! the Epson ET 2760 is not designed for sublimation. The print head may have been damaged, which is why it stopped working.
Tracy Griffiths
I’ve just purchased an Epson XP-2100 and cant get it to test print let alone anything else! no tape left on cartridges? Please help
Julia Page
Have you tried resetting your printer? Resetting your Epson printer may resolve plenty of issues and you can also fix the not printing issue after changing ink can be fixed after resetting your printer in a very quick and effective manner for the varied problems.
Turn off the printer.
Press and hold the reset button on the back of the printer (normally located to the right of the ethernet port).
Turn on the printer while holding the reset button.
Wait until a message prints indicating that the printer is resetting.
carol blaber
Hi I have the ET-4500 which does not use cartridges but have to refill the ink wells. The black one was empty so have filled it up and the others look fine but when I print the are just faint black lines. I tested colour and that is fine but the black bits don’t show! Can you help please?
Julia Page
Hi Carol! It sounds like the print head nozzles are clogged. Have you tried cleaning the print head? To do so, go to “setup” then “maintenance” using your printer’s menu and then choose “print head cleaning”. You may have to do this several times to fully clear the print head.
Brenda L Batey
I have replaced all four ink cartridges and My colors come out very light and the black does not print at all. I bought two of the black cartridges so tried the second one in case the first one was bad. Still black does not print or copy. I have gone through all the steps above and cleaned the printer heads several times.
Julia Page
Faint or light printing might be an indication that your nozzles are clogged. Perform a cleaning cycle. This process may not work completely the first time you do it, however, for some, they try to do it several times and it worked! This may help in making your black ink work too! If not and the error persists, I would suggest reaching out to Epson’s customer care for further technical help.
Boy Cotimo
My EPson 3110 will not print after refilling ink…How can I trouble shoot it? Thanks you very much.
Julia Page
Go to “Windows Settings” and select “Devices”
Select “Printers & Scanners” then click on the printer model connected to your computer.
Click “Open Queue”.
Select “Printer” then “Printer Preferences”
Select “Maintenance” and go to “Power Cleaning”
You can perform the list under Maintenance aside from Power Cleaning. You can give those a shot and see which will help in resolving this issue. Usually, you will have to perform the following more than once before it will actually work. I hope this will work out for you!