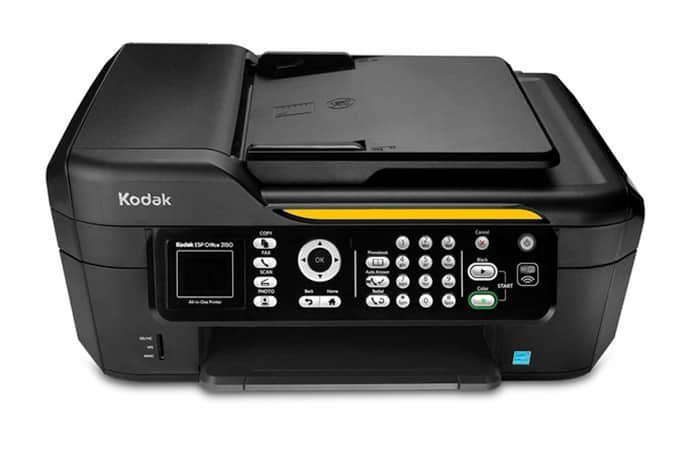
The Kodak Verite is a unique inkjet printer. When paired with Kodak Verite 5 ink cartridges, you can lower ink cost by up to 50%. On top of that, the Kodak printer also offers advanced wireless printing capabilities that improve convenience and efficiency. Scan straight from your smartphone and print photos or envelope addresses wirelessly with a simple flick.
However, to enable a printer’s wireless functionalities, you need to connect it to a Wi-Fi network first. If you don’t know how to do it, the step-by-step guide below will help you out.
Steps to Connect a Kodak Verite to a Wi-Fi
There are two ways to connect a Kodak Verite printer to a Wi-Fi network. First is through WPS, and the other one is through manual setup. You can use either method depending on your preference and the type of router you are using (not all routers have WPS).
Both wireless setups will work with virtually every model in the Kodak Verite series, including the Kodak Verite 55 eco, Kodak Verite Craft 6, and others. For more information on connecting the Kodak Verite to Wi-Fi and other troubleshooting help, including hardware, software, and printer setup, refer to www.kodakverite.com/support.
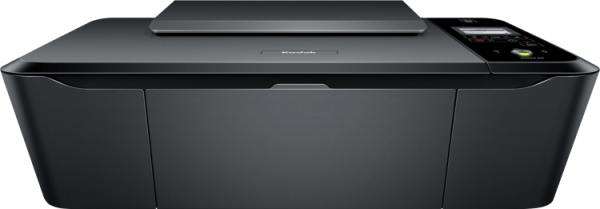
--- Kodak Verite 55 ---
Kodak Verite Wi-Fi Setup (WPS)
If you’re using an access point or router with a WPS (Wi-Fi Protected Setup) function, use the WPS connection. You can also connect your Kodak Verite 55 or Kodak Verite Craft 6 to the same Wi-Fi network as your PC through WPS.
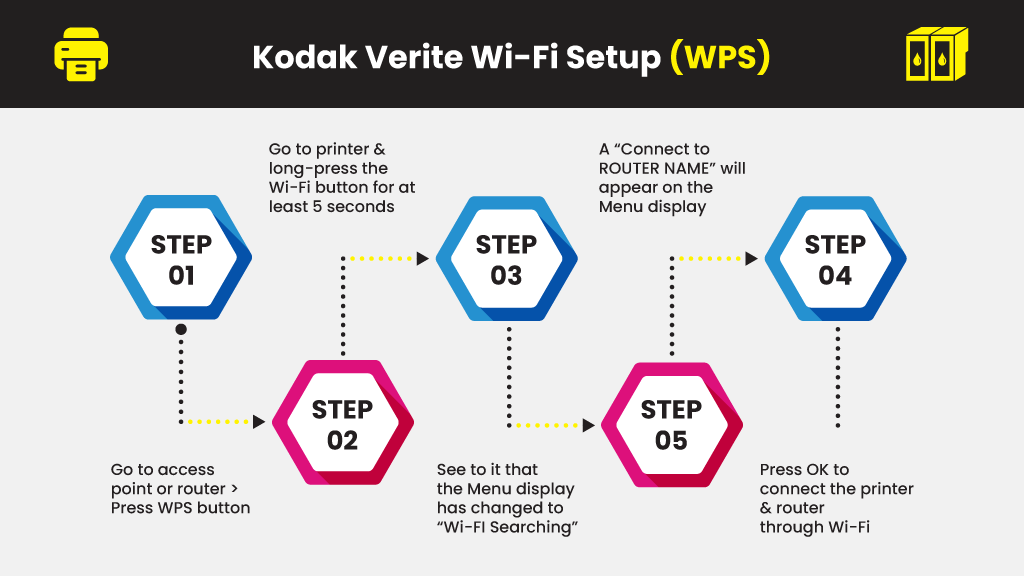
- Go to your access point or router and then press the WPS button.
Note: How long you’ll need to press the WPS button, and other specific details differ depending on the type of access point. Kindly refer to the user manual of the product for the right answer. - Go to your printer and long-press the Wi-Fi button for at least 5 seconds.
- See to it that the Menu display has changed to “Wi-FI Searching” before you proceed.
- Once the Wi-FI search is complete, a “Connect to ROUTER NAME” will appear on the Menu display.
- Press OK to connect the printer and router through Wi-Fi.
Kodak Verite Wi-Fi Setup (Manual)
If you’re using a router that doesn’t have WPS, you can wirelessly connect the Kodak Verite using its control panel and enter the SSID and the password.
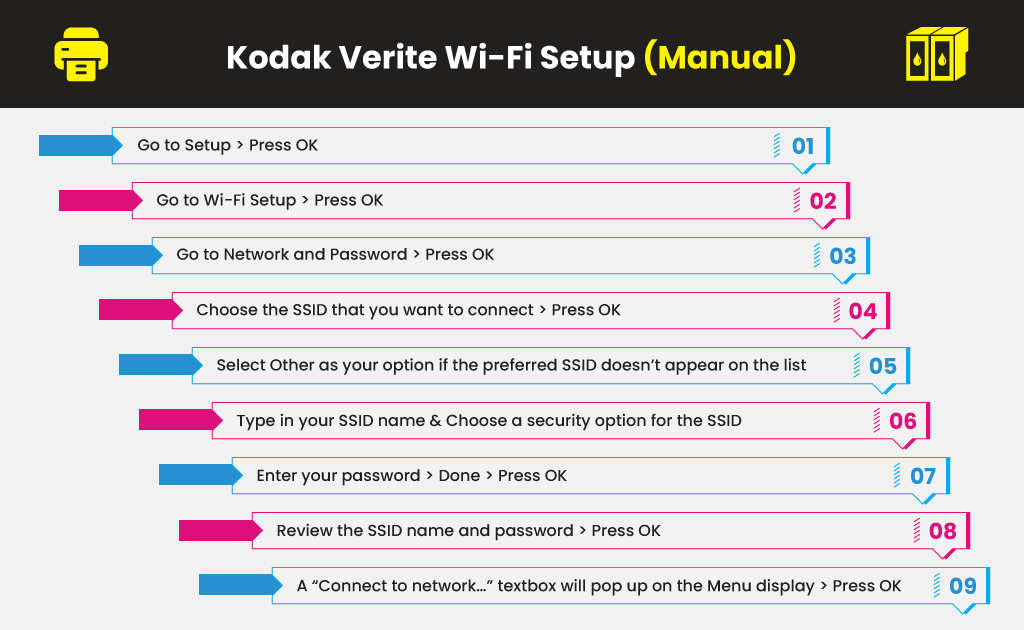
- Using the Up and Down Arrow buttons of the control panel, go to Setup and then press OK.
- Using the Up and Down Arrow buttons again, go to Wi-Fi Setup and then press OK.
- Under the Wi-Fi Setup menu, go to Network and Password and then press OK.
- Choose the SSID that you want to connect and then press OK.
- If you’re preferred SSID doesn’t appear on the list, select Other as your option and then press OK.
- Type in your SSID name and then choose a security option for the SSID.
- Enter your password. Use the Up and Down Arrow buttons in selecting a letter(s) for your password.
- After entering your password, select Done and then press OK.
- Review the SSID name and password shown on the Menu display. If they are correct, press OK, and the Kodak Verite will start connecting to the access point.
- A “Connect to network…” textbox will pop up on the Menu display, confirming that the connection is successful. Press OK to complete the wireless setup.
Replacing your Kodak Ink Cartridges
Original Kodak ink cartridges are known for their quality, reliability, and longevity. Ultimately, you’ll have to replace your ink cartridges once they run empty. If you want to save more without sacrificing print quality and performance, consider compatible Kodak ink cartridge replacements.
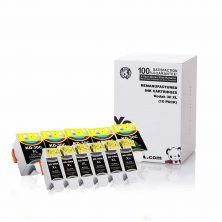
An original Kodak 30C XL Color Ink Cartridge from Amazon, Staples, and other online retail stores, generally costs around $17 each. However, a 10-pack set of compatible Kodak 30XL black and color ink cartridges from YoyoInk costs $46.95, which equates to just $4.70 per cartridge. That means that you can save up to 75% more when you opt with these compatible cartridges over genuine ones. They are the perfect solution to low-cost printing with guaranteed quality results.


 Live Chat


